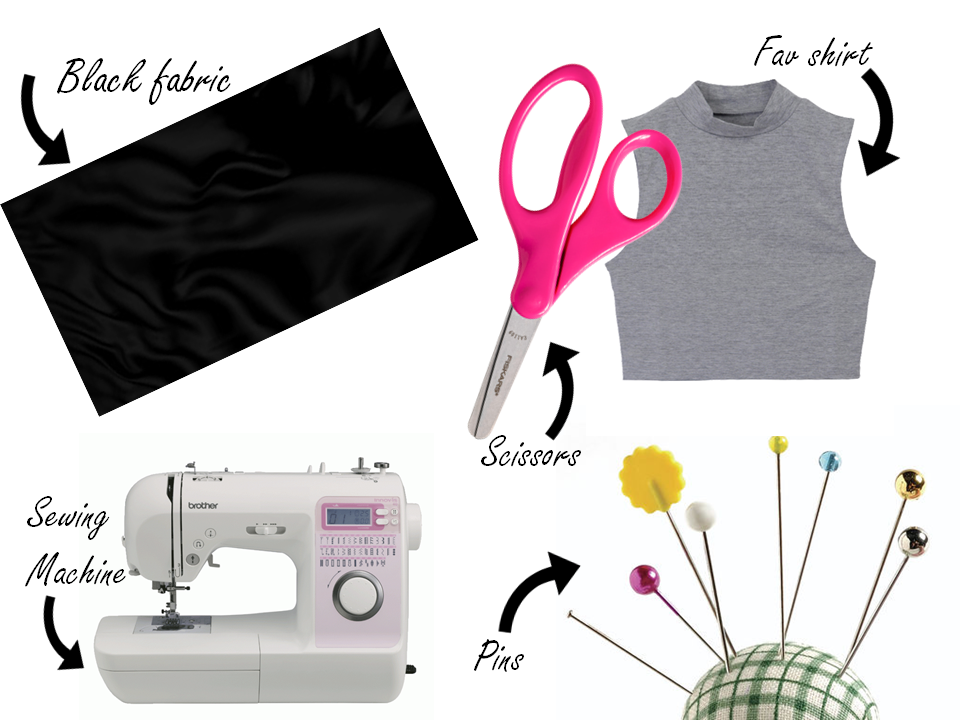
WHAT YOU WILL NEED.
STEP 1
Find a sleeveless shirt that fits you really well and lay this out on your chosen fabric. Your fabric should be folded in half with 'right sides' kissing each other (i.e. The side of the fabric that you will see when you are wearing the dress). The side that your top is laying on will be the 'inside' of the dress.
STEP 2
Trace around your top with a fabric pen or marker. Give it an extra 2cm to allow for stitching.
STEP 3
To trace the remainder of the dress simply continue the lines down. The more full you want your dress the wider you should draw these lines.
STEP 4
Cut out your pattern!
STEP 5
Pin and stitch your garment where the blue lines are marked.
STEP 6
Turn your dress the right way out.
STEP 7
To create an asymmetrical hem, first mark and cut a semi-circle at the hem of the dress.
STEP 8
Now cut only the front piece of fabric in a semi-circle going in the other direction.
And you're done!


Easy Breezy, well done...
ReplyDeleteWould you be willing to make one for my daughter as well? She absolutely loves her but i can't find it where I live cheap wedding gowns under 200
ReplyDelete