Showing posts with label fashion. Show all posts

Tuesday, April 29, 2014

DIY MIDI SKIRT

It’s the skirt of the season, and one of the easiest skirts to make. 
So get your sewing boots on follow suit. Scroll down for your DIY instructions.


Step 1: Choose your fabric.
I choose a very fiddly silk patterned fabric (because it was on sale at the fabric store), but I would normally suggest using a stretch so you won’t need to bother with hems.

Step 2: Measure
To find out how much fabric you will need, measure around your waist (at the level you want your skirt to sit). Then double this measurement to get the length of fabric you will need.

Step 3: Stitch a tube
Fold about 5 cms of the fabric over at the top, then pin and stitch to make a ‘tube’. Once you have this tube, thread some elastic through it. For elastic threading instructions, see my previous post here:

Step 4: Sew it up
Now line up the raw sides, right sides kissing each other, pin and stitch.

Step 5: Frolick 
Enjoy your new skirt by frolicking upon rooftops in the autumn, enjoying the view

Saturday, October 5, 2013

DIY SIMPLE SHIFT DRESS - TUTORIAL


A super simple DIY tutorial to re-create my easy, breezy black shift dress. Once you have this down, you can make so many different variations. The key is to pick a fabric that doesnt fray - that way you won't have to get bogged down with pinning and sewing hems and necklines. Happy DIY'ing!

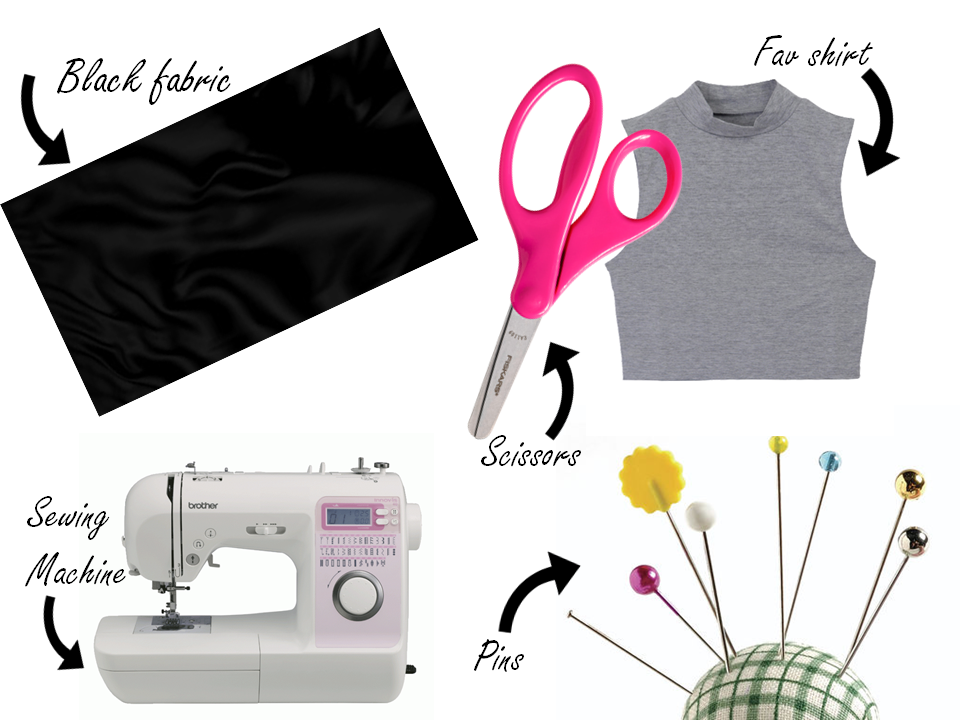
WHAT YOU WILL NEED.
STEP 1
Find a sleeveless shirt that fits you really well and lay this out on your chosen fabric. Your fabric should be folded in half with 'right sides' kissing each other (i.e. The side of the fabric that you will see when you are wearing the dress). The side that your top is laying on will be the 'inside' of the dress.
STEP 2
Trace around your top with a fabric pen or marker. Give it an extra 2cm to allow for stitching. 
STEP 3
To trace the remainder of the dress simply continue the lines down. The more full you want your dress the wider you should draw these lines. 
STEP 4
Cut out your pattern! 
STEP 5
Pin and stitch your garment where the blue lines are marked. 

STEP 6
Turn your dress the right way out.

STEP 7
To create an asymmetrical hem, first mark and cut a semi-circle at the hem of the dress.

STEP 8
Now cut only the front piece of fabric in a semi-circle going in the other direction.  
And you're done!


Monday, November 5, 2012

FLORAL

Wearing: Vintage Dress, Ebay Belt, Ebay Shoes
The past few weeks have been quite the whirlwind. In the next two weeks I have two complete the last of my uni assignments, sit two exams, and prepare myself to make a move interstate. I'm taking on a wonderful new opportunity and heading for the rather less sunny shores of Melbourne (although I only ever just survive the Perth summers, so I think the cold climate will suit me just fine). Will be keeping you all updated on my adventures and hope to share the news with you soon! To stay up to date catch me on facebook- facebook.com/LadyMaple

Oh and I've recently started tweeting! About time ey?  @LadyMapleV

Thursday, August 30, 2012

Facebook & Instagram


Have you joined me on Facebook and Instagram yet ?

You can find me at
  facebook.com/ladymaple
and
@ladymaplevintage on Instagram

I tend to use these much more often than the blog, so it's the best way to keep in touch and stay up to date with La Petite Fembot.

xx